Another New Visitor

Just before we picked up our new dog Rocky, one of our hens was killed during the day outside the fences. It could have been any number of predators – a fox seemed pretty likely though foxes aren’t usually likely to be out in the middle of a sunny day.

But it turned out it wasn’t a fox. We had seen a cat occasionally around the pastures in the weeks prior, but didn’t think a cat would normally attack an adult chicken. However, after the hen was killed, we saw the cat with increasing frequency. The cat was hanging out just outside the fences watching the other chickens. The cat was even spotted hanging out just outside the chicken coop door at one point.

We decided to email the neighborhood list to see if someone’s cat was loose. Receiving no positive responses, we decided to try to trap the cat.

We put out a trap with a plain can of tuna in it, expecting it to take a few days before the cat felt comfortable enough with a new box in its environment to try to get inside. We were wrong. Checking on the trap after an hour or so of putting it out, the cat was already inside.
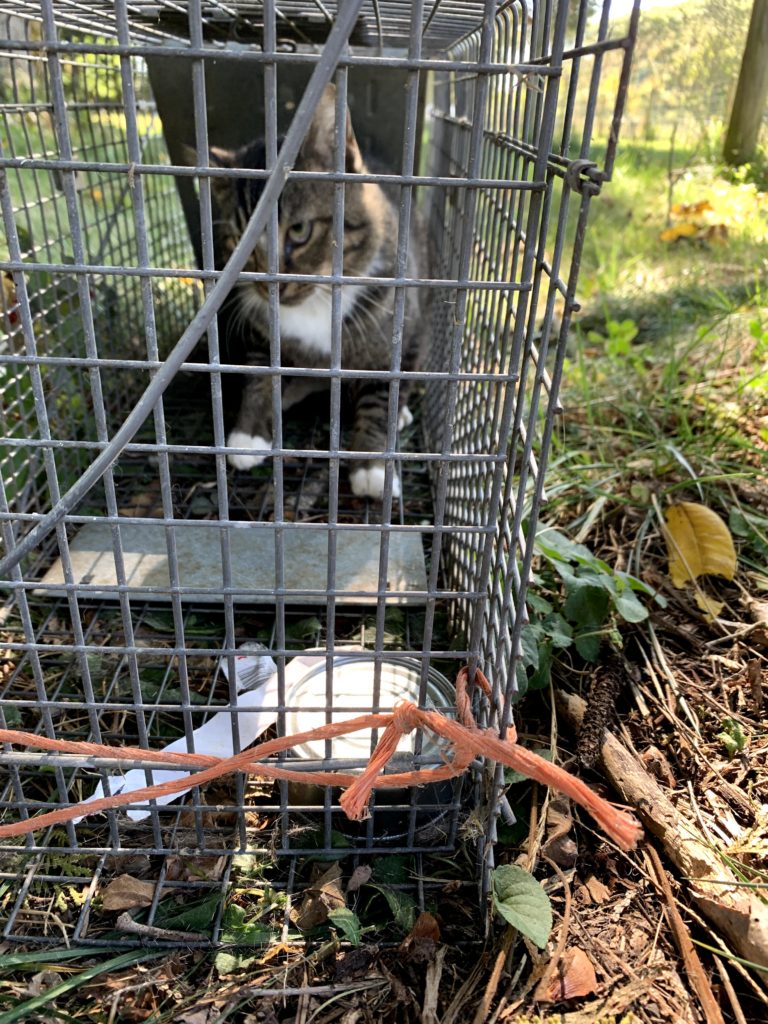
The cat in the trap.

He was not very happy to be in a trap. We quickly put on protective gear (think coats in case he tried to scratch) and moved him into a large dog crate to give him some more space.

Continue reading
Building a Climbing Ramp

We wanted to build a (human) kid’s climbing ramp (sometimes referred to as a pikler arch / montessori arch). We found a bunch of varieties and styles on sale online but decided to try building our own.

We decided to make it approximately 4 feet long. We started with a 8 foot long, 20 inch wide board.

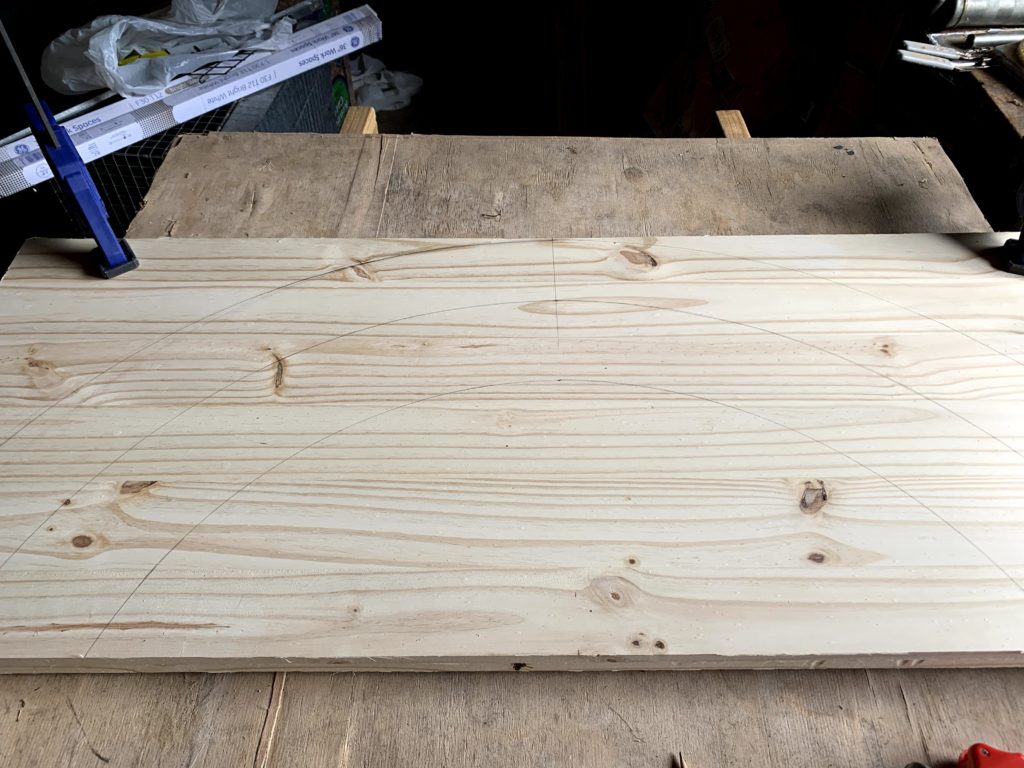
First, cut it in half to end up with two 4 foot long sections. Stack those two sections on top of each other so when you then measure and cut the arch, both sides automatically match, even if the cuts aren’t exact.

Drawing the arch on the board before cutting. The outer arch is based on a circle with a 24 inch radius with the smaller curved lines based on smaller concentric circles.

With one 20 inch wide board, we cut out 3 separate pairs of arches. While we have only finished the larger outer climbing ramp to date, we have plans to make 2 smaller ramps in a similar style when we have the time.

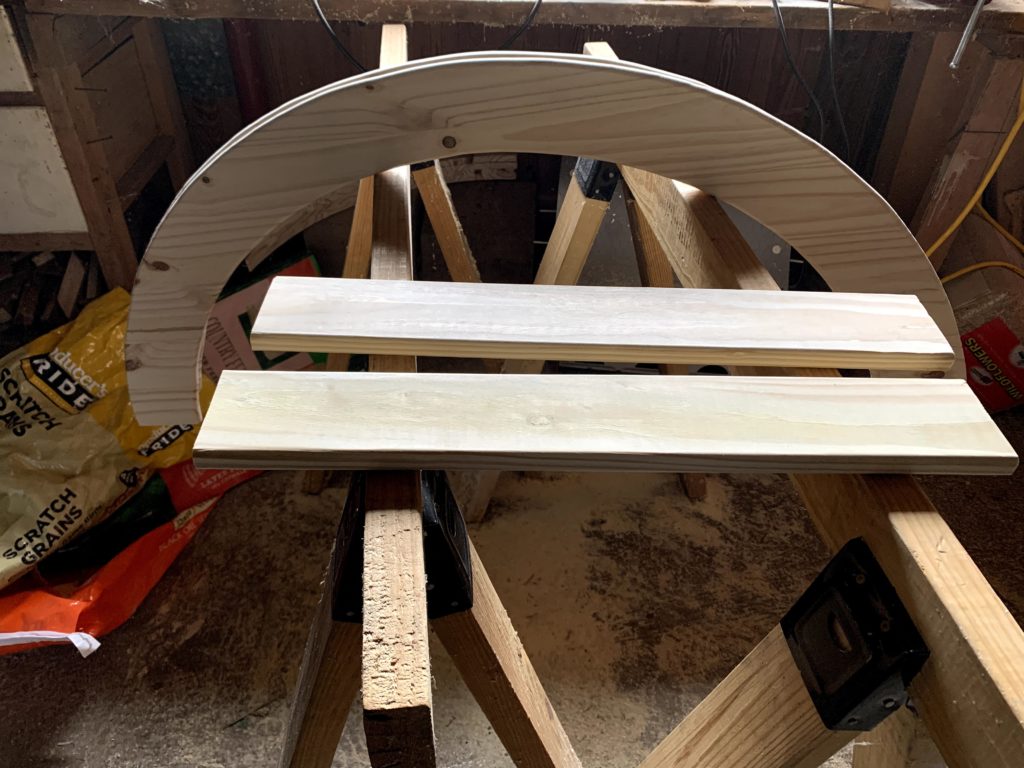
After drawing out the ramps, cut out the arches using your jigsaw. For the slats, we cut out ten ~23 inch long pieces from 1″ x 4″ boards.

The cut outer arches along with a sample of the slats.

After cutting out the arches and slats, it is time to round off all of the exposed edges and corners with a round off router bit to eliminate any sharp edges.

Once the routing is complete, it is time to sand all of the surfaces with several levels of sandpaper – we used coarse, medium and fine on all of the surfaces.

Continue reading

Shade for the Summer

With the length and number of summer heat waves seeming to increase every year, we have been looking for additional ways to help the animals better cope with the heat.

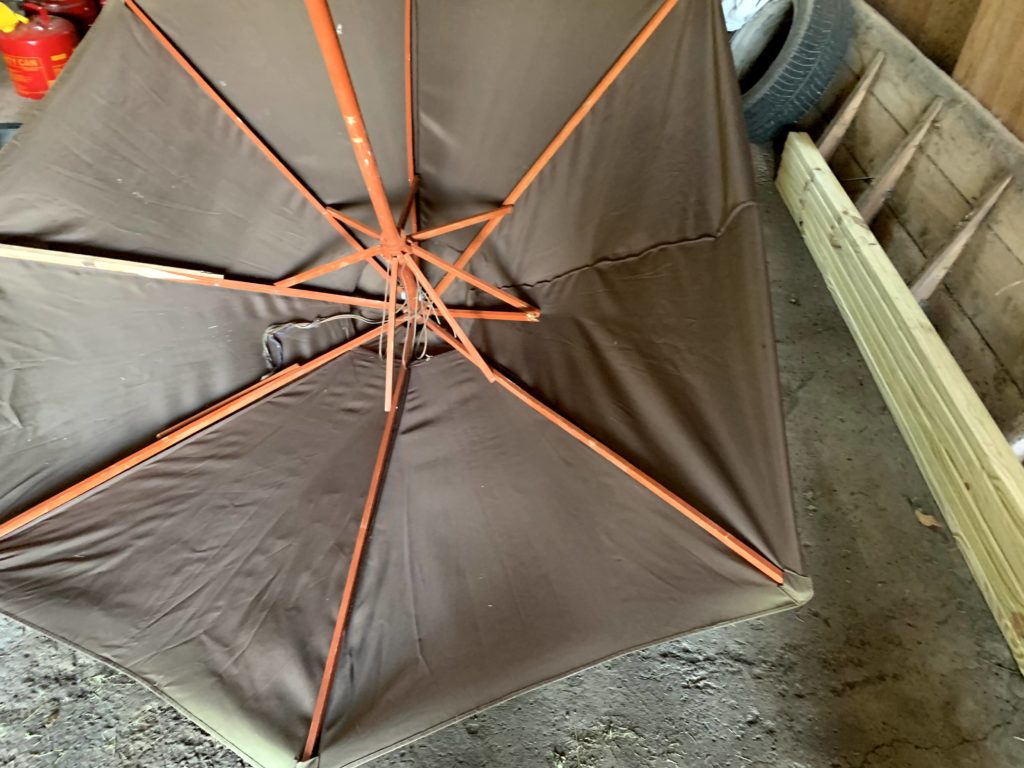
We had been considering putting up some shade sails to provide additional shaded areas for the animals to get out of the sun. While still considering buying a shade sail, we happened to come across an ad from a local homeowner cleaning out their house before moving. They were giving away a free sun umbrella so we picked it up with the thought to use it for extra shade for the chickens.

Free sun umbrella with 3 broken spokes.

The only problem – it had 3 broken ribs. 2 had the ends broken off and one snapped off closer to the center pole.

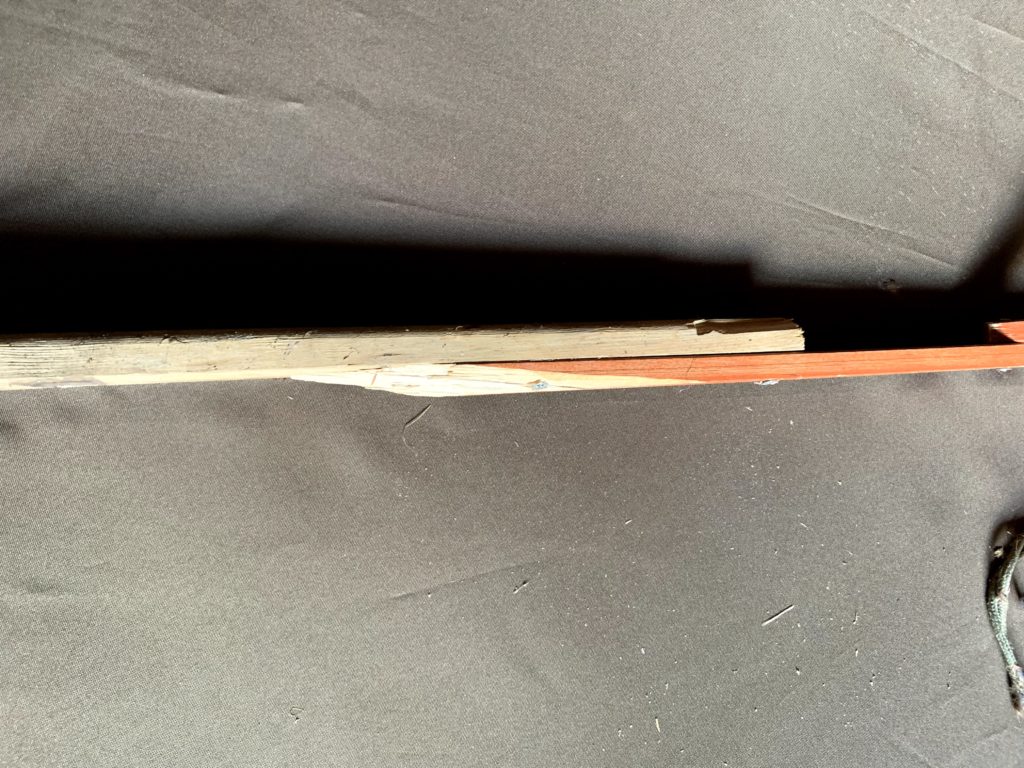
A simple fix on one of the umbrella ribs.

The 2 ribs with broken ends just needed a quick fix – attach a length of wood to replace the missing piece. I used a couple pieces of scrap wood and some old screws salvaged from other projects over time.

The 3rd rib required two pieces with a small bolt to permit it to pivot and close the umbrella – I had to buy the bolt, along with a couple washers and a nut or two – total cost $2.78.

Continue reading

Wildlife Escape Ramps (Part 2)

As previously mentioned, we created some simple wildlife escape ramps for our water buckets to reduce both wildlife drowning deaths and reduce potential contamination risk for our animals.

Here are the step-by-step directions for creating a simple wildlife escape ramp for a standard 5 gallon flat-back bucket.

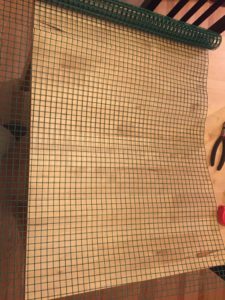
Roll of 1/2 inch x 1/2 inch vinyl-coated wire mesh.

Here are the materials you will need:

  • 5 gallon flat-back bucket.
  • 1/2 inch vinyl-coated wire mesh – you will need a 1 foot by 1 foot section. It often comes in rolls 2 feet wide. The vinyl coating is important because the ramp will be underwater and the vinyl provides additional protection.
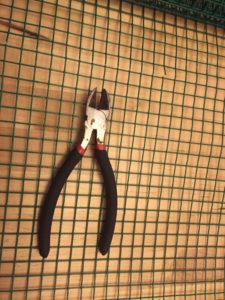
  • Wire cutter / side cutter / scissors – This will be needed to cut out the appropriate size of wire mesh (if necessary).
  • A ruler or other straight edge to use for bending the wire mesh along a straight line.
  • 1 can of rustoleum or similar spray paint (optional).
Any cutting implement that will cut through the wire mesh will work just fine.
Continue reading
Winter 2019-2020

As the snow has finally all melted for the season and the grass is just starting to turn green, we look back at a few of the pictures we captured from the winter.

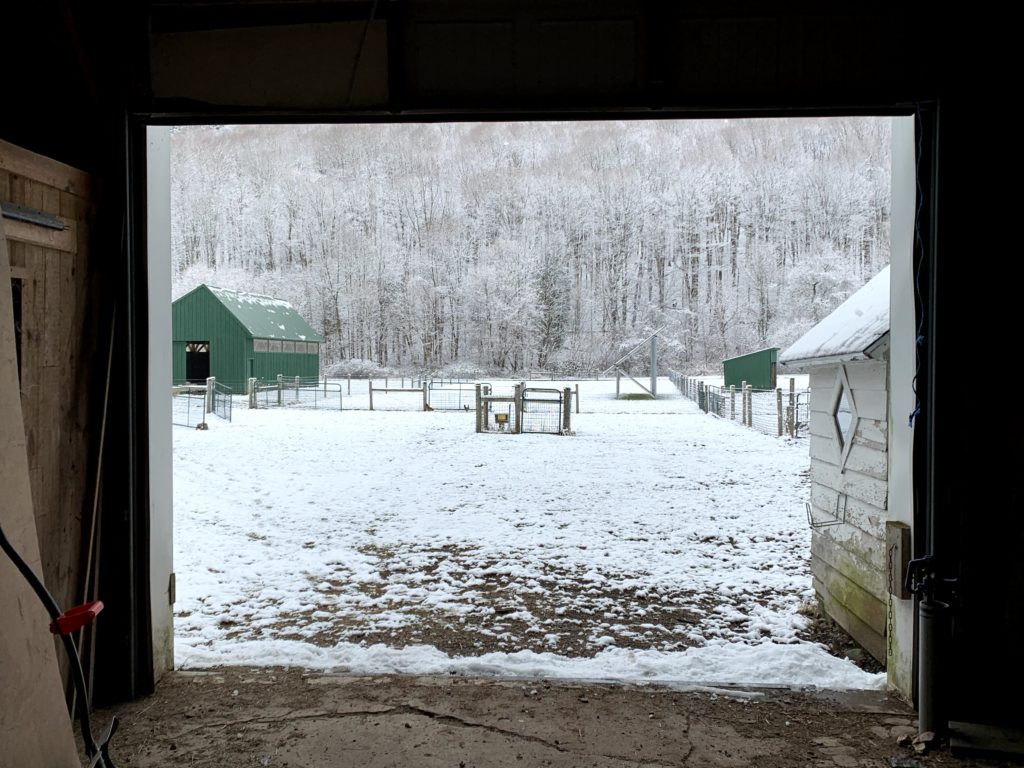
A view from the main barn.

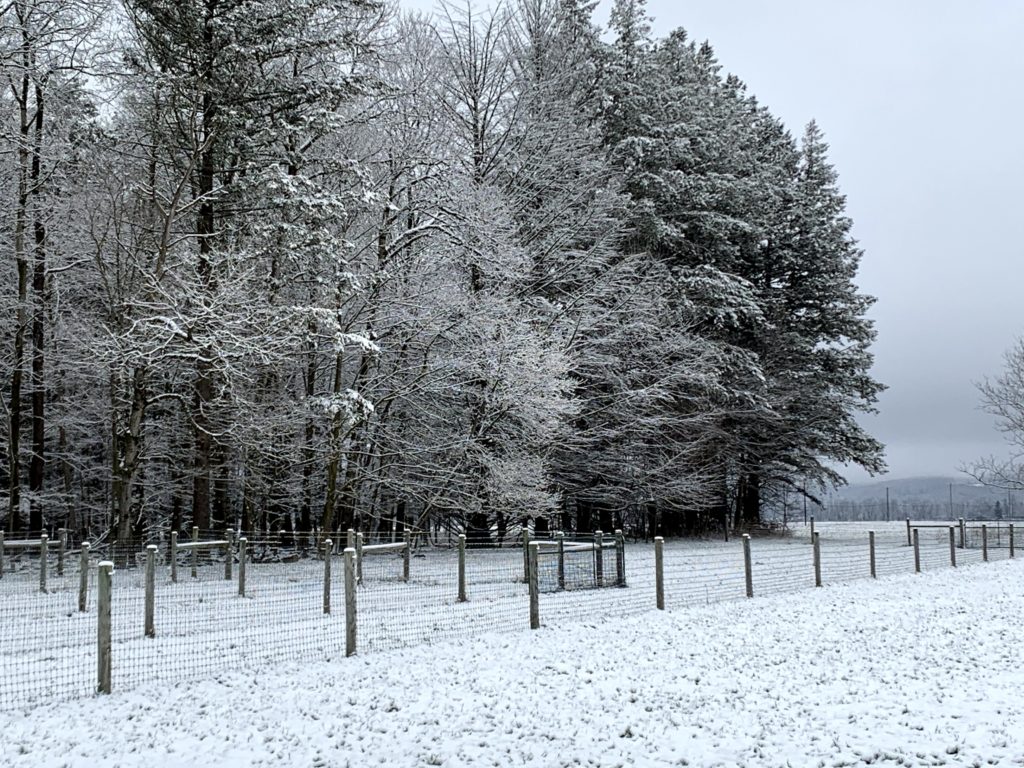
Overall, it was a mild winter compared to average. Less snow overall and only a handful of really heavy snowfalls. Even with that, there was some amount of snow on the ground from late November through early April – though during some of that time the only snow around was the piles of snow next to the driveway.

The trees covered in light layer of snow.
Continue reading
Rebuilding the Dam

A couple years ago, we tried to build a small earthen dam to stop debris from the woods from being washed out into the pastures during spring rains / snow melt. That attempt didn’t hold.

Here is the completed earthen dam a couple of years ago before it was tested.

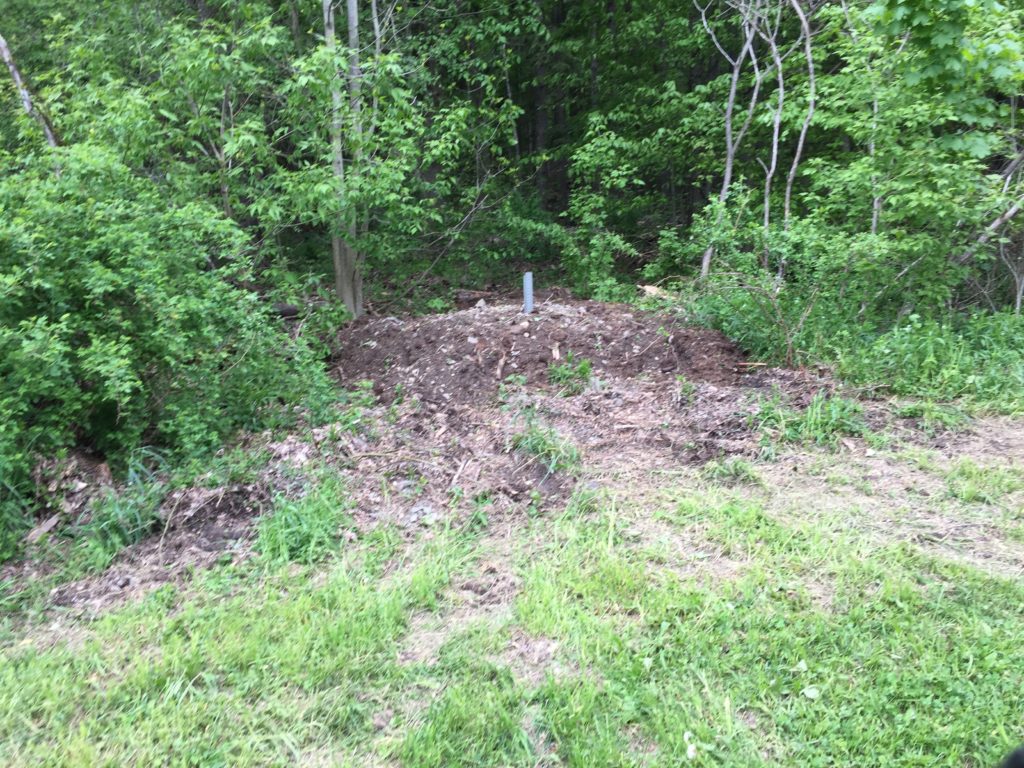
Instead of rebuilding the earthen dam to completely block the water by holding it back, I decided to fortify the remaining piece of earthen dam with a water-permeable dam instead. By creating a water-permeable dam, the water would still flow through the dam out into the pastures, but the leaves, rocks and tree limbs would remain in the woods leaving the fences and pastures undamaged after the water subsides and avoiding the need for any time spent on clean up. The dam should slow the flowing water, causing the debris to stop while the water would continue seeping slowly through the dam out into the fields.

The same view of the dam today (including the water-permeable portion where it was previously washed out). It has been so successful that plants have been able to establish themselves over the dam as they are not washed away during heavy rains.

But what could we use to make the water-permeable dam? It would need to allow water through yet be sturdy enough to generally hold its shape under pressure from the flowing water without itself washing away.

Continue reading

A New Kid on the Farm

Last spring, we added 2 new goat kids to the farm.

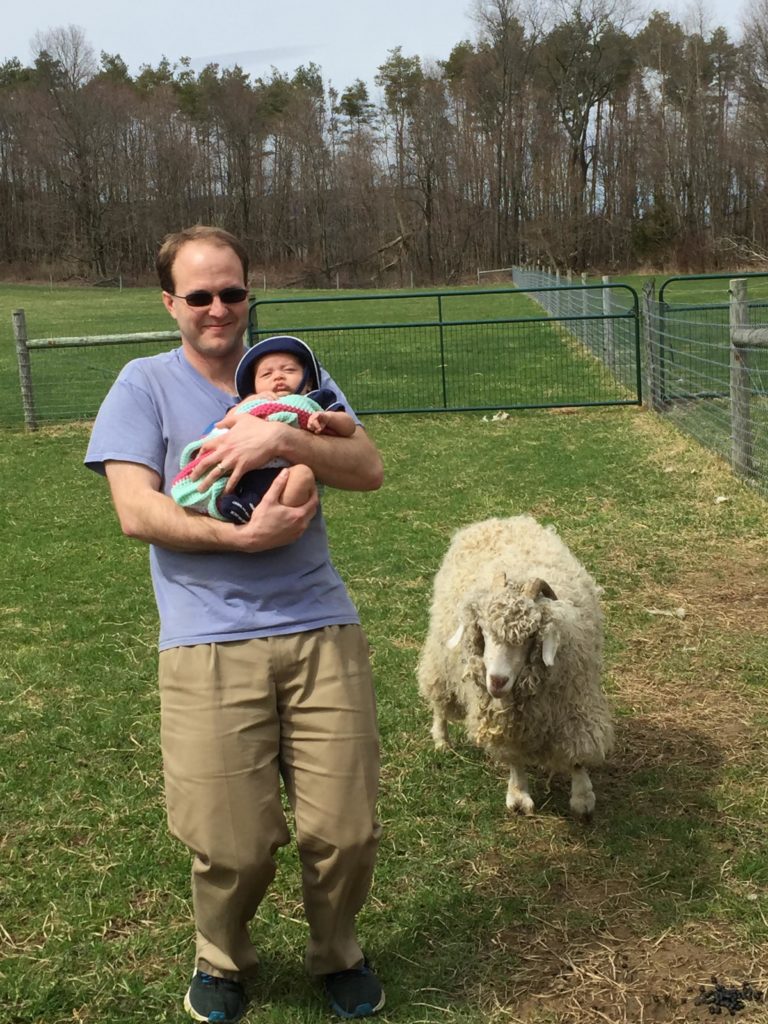
This year, we added another new kid, this time a *human* kid.

Sticking with the same naming convention as last year (T for the first names for goat twins Tori and Tessi), say hello to Teddy! Teddy was born in mid-February during a snowstorm.

Teddy supporting the local team by wearing his Syracuse University hat.
Teddy getting ready to leave the hospital and head home to the farm.

Teddy is growing quickly and doing very well. I’m sure he will be out in the fields helping take care of the animals very soon.

Teddy takes a quick nap with his first Teddy Bear after a long day of eating, crying and sleeping.
Teddy “celebrates” Tax Day 2019.
Teddy in his sun hat meeting the goats (in this case, Butterbean).

Heat from the Earth (Part 2)

As we are well into wintry weather for the year, here are some more details about our geothermal heating system.

See the earlier explanatory post about the installation process outside the house here.

Heat from the Earth

In addition to the bore holes and “moat” outside the house, there was also a bit of work inside the house for the changeover to a geothermal heating system. Following the lines from outside, the first step was creating a path for the heating loops into the house.

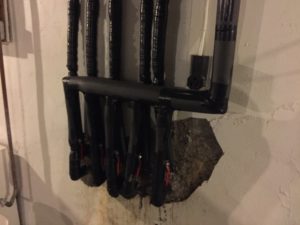
Here is a picture of the manifold where the lines enter and exit the house.

There are 5 entry lines and 5 exit lines. This covers 5 different heating loops. Each of the 5 heating loops has the cold water leave the house, travel to the bore holes and go down and back up two 75-foot bore holes per loop to absorb heat from the ground and then travel back into the house.

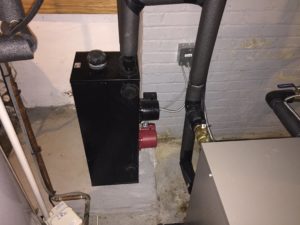
This is the pump unit that circulates the water from inside the house, through the heating loops outside and back into the house to the heat pump.

Continue reading

Yaks!

Last month, a local county agricultural council sponsored their annual farm fest, where a number of local farms are open on a weekend day for free tours / open house. It just so happens that one of the farms open for tours was only ~3 miles away so we decided to stop by.

Although only a few miles away, the farm isn’t directly visible from the road, so we had no idea that they raise…  yaks!

Here is a picture of one of their yaks:

An adult female yak.

We learned that yaks are a triple threat – they are raised for milk, meat and fiber. The farm was selling yak sliders and yak yarn and fiber products during the open house.

According to the farmer, yaks are smaller than typical beef and dairy cows – the adult females are typically only 500 to 600 pounds. Adult male yaks (domesticated) can weigh in at 900 – 1,200 pounds. For reference, typical beef cattle bulls can reach closer to 2,000-3,000 pounds (but are often slaughtered younger so are usually seen at lower than full weight).

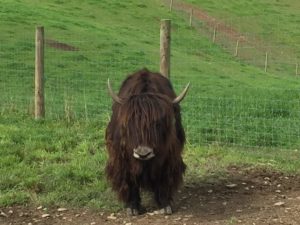
Here is a close-up shot so you can see their shaggy fur coat. Their fiber is used to make yarn and then into whatever product from there. The farm was selling knit yak products such as winter hats.

An imperial yak (I think).


Yaks come in a variety of color patterns. A black yak is called an imperial yak. A yak that is white and black is called a royal yak.  There are also somewhat rare golden yaks that are all light brownish in color.

A royal yak.

Continue reading

Random Photos from Spring / Summer 2018

Earlier this year in the spring I took a hike up our mountain to clean up any trash or debris that had blown onto our property over the winter.

I collected a handful of empty soda bottles (probably originally left by hunters on neighboring properties), some plastic bags, and 2 deflated balloons.

I also found a few other things in the woods:

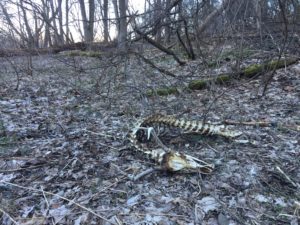
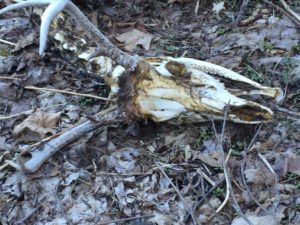
There was a deer skeleton just onto our property. It may have died naturally over the cold winter, or it may have been shot and injured by a hunter and the hunter couldn’t track it. It appears to be the skeleton of a young buck – the antlers only have a few points.

A deer skeleton in the woods.

Deer skull with antlers still attached.

Continue reading