As previously mentioned, we created some simple wildlife escape ramps for our water buckets to reduce both wildlife drowning deaths and reduce potential contamination risk for our animals.
Here are the step-by-step directions for creating a simple wildlife escape ramp for a standard 5 gallon flat-back bucket.
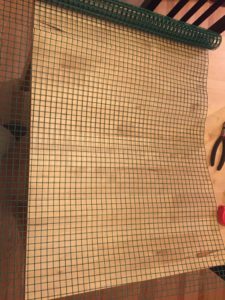
Here are the materials you will need:
- 5 gallon flat-back bucket.
- 1/2 inch vinyl-coated wire mesh – you will need a 1 foot by 1 foot section. It often comes in rolls 2 feet wide. The vinyl coating is important because the ramp will be underwater and the vinyl provides additional protection.
- Wire cutter / side cutter / scissors – This will be needed to cut out the appropriate size of wire mesh (if necessary).
- A ruler or other straight edge to use for bending the wire mesh along a straight line.
- 1 can of rustoleum or similar spray paint (optional).
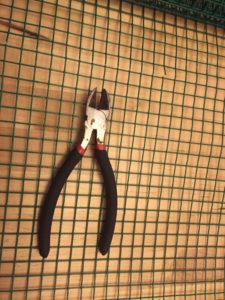
Step 1: Cut out a 1 foot by 1 foot square of the wire mesh. You can measure or just count out 24 squares in each direction. Use your wire cutter or other cutting tool.
Step 2: At one corner of your wire mesh square, bend a triangle with sides 2 1/2 inches long 90 degrees up from your table or work surface. You can count out 5 squares of the mesh on each side of the square and fold across the line between those points. This small triangle will serve as the overhang over the back of the bucket.
Step 3: From the diagonally opposite corner, measure 2 1/2 inches along one side of the mesh square (or just count 5 squares). From the corner of your bent triangle to the point you just measured, bend the mesh up 90 degrees along that line between those 2 points. It is helpful to have a long straight edge to bend against – a ruler or other straight edge (such as the edge of a table) should work well enough.
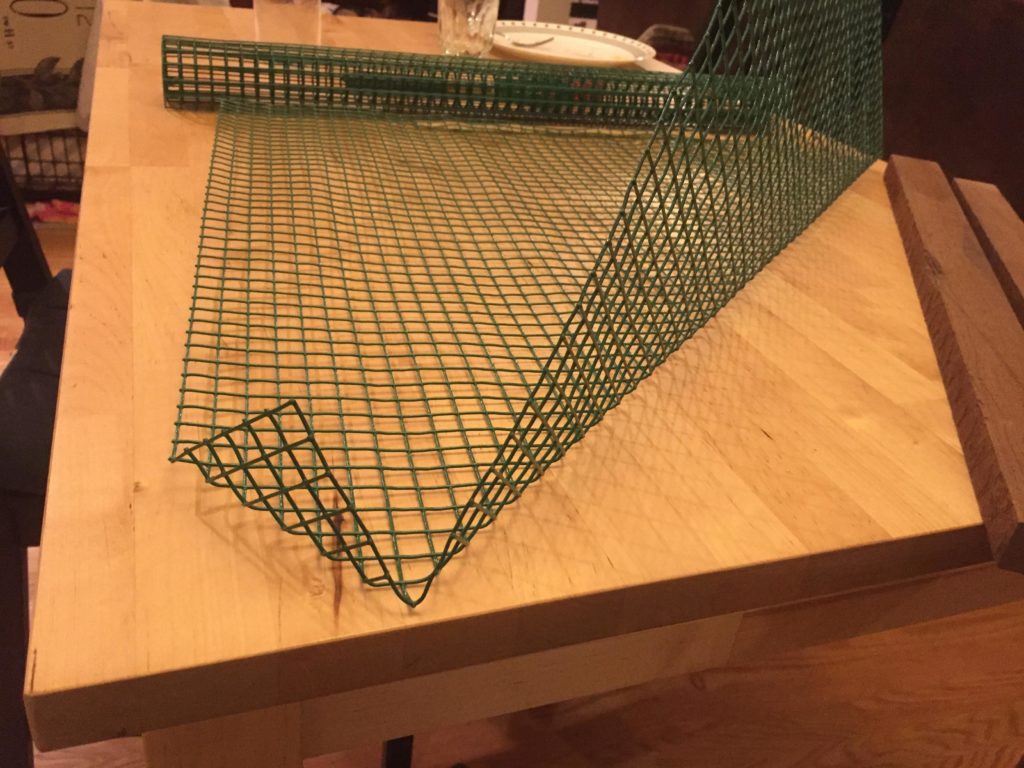
Step 4: Repeat Step 3 for the other side of the mesh square. At the end of Step 4, you should have 3 triangles bent up from your work surface – 1 small triangle and 2 large equal size triangles.
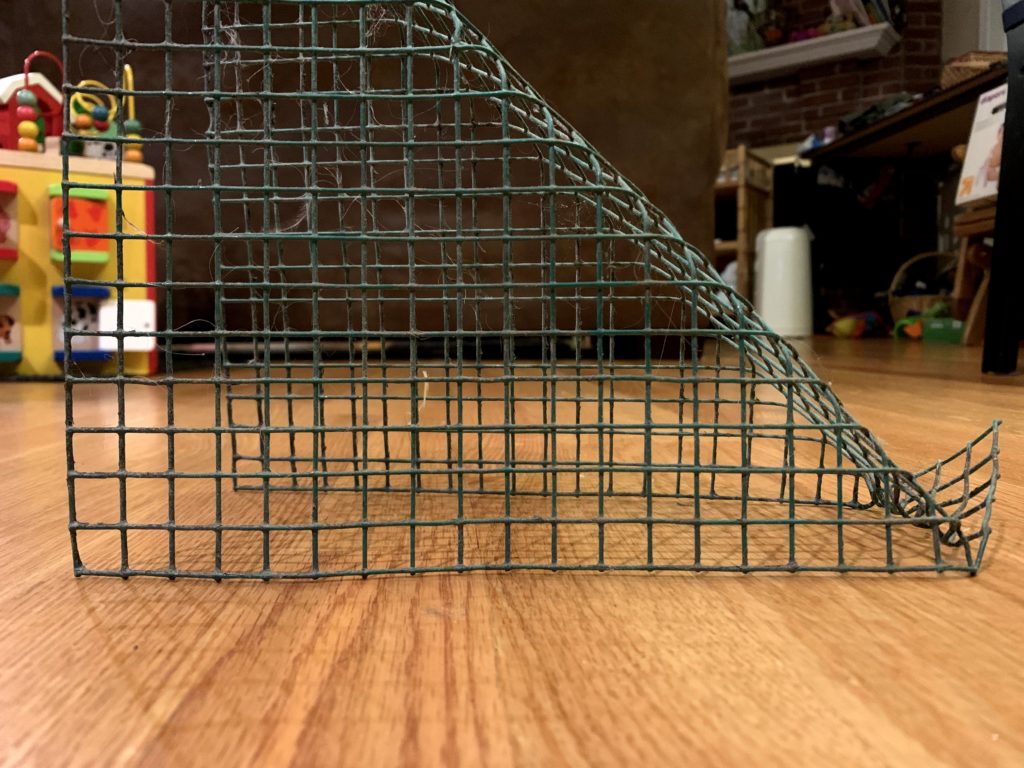
Step 5: Find the corner of the mesh square that you have not bent yet. Measure 2 1/2 inches (or count 5 squares) along each side and bend a triangle the opposite 90 degrees from the other 3 bent sides. This small triangle will help push against the front of the bucket when inserted and help hold the ramp in place.
Step 6 (Optional): If you had to cut the wire mesh to get the proper size square, there are now some sections of wire that are exposed to the air and no longer covered by the protective vinyl coating. Spray those exposed sections with rustoleum or equivalent paint to provide some anti-rust protection.
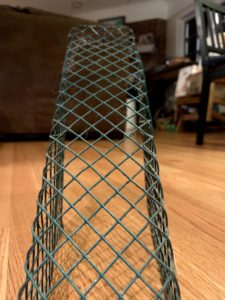
That’s it! Your ramp is complete and now ready to install.
Simply take the ramp and push it into place in the bucket. You can further conform the 2 small triangles to the bucket – the top triangle should overhang the back of the bucket. By adjusting the angle of the 2 small triangles, there should be enough pressure to hold the wildlife escape ramp in place.
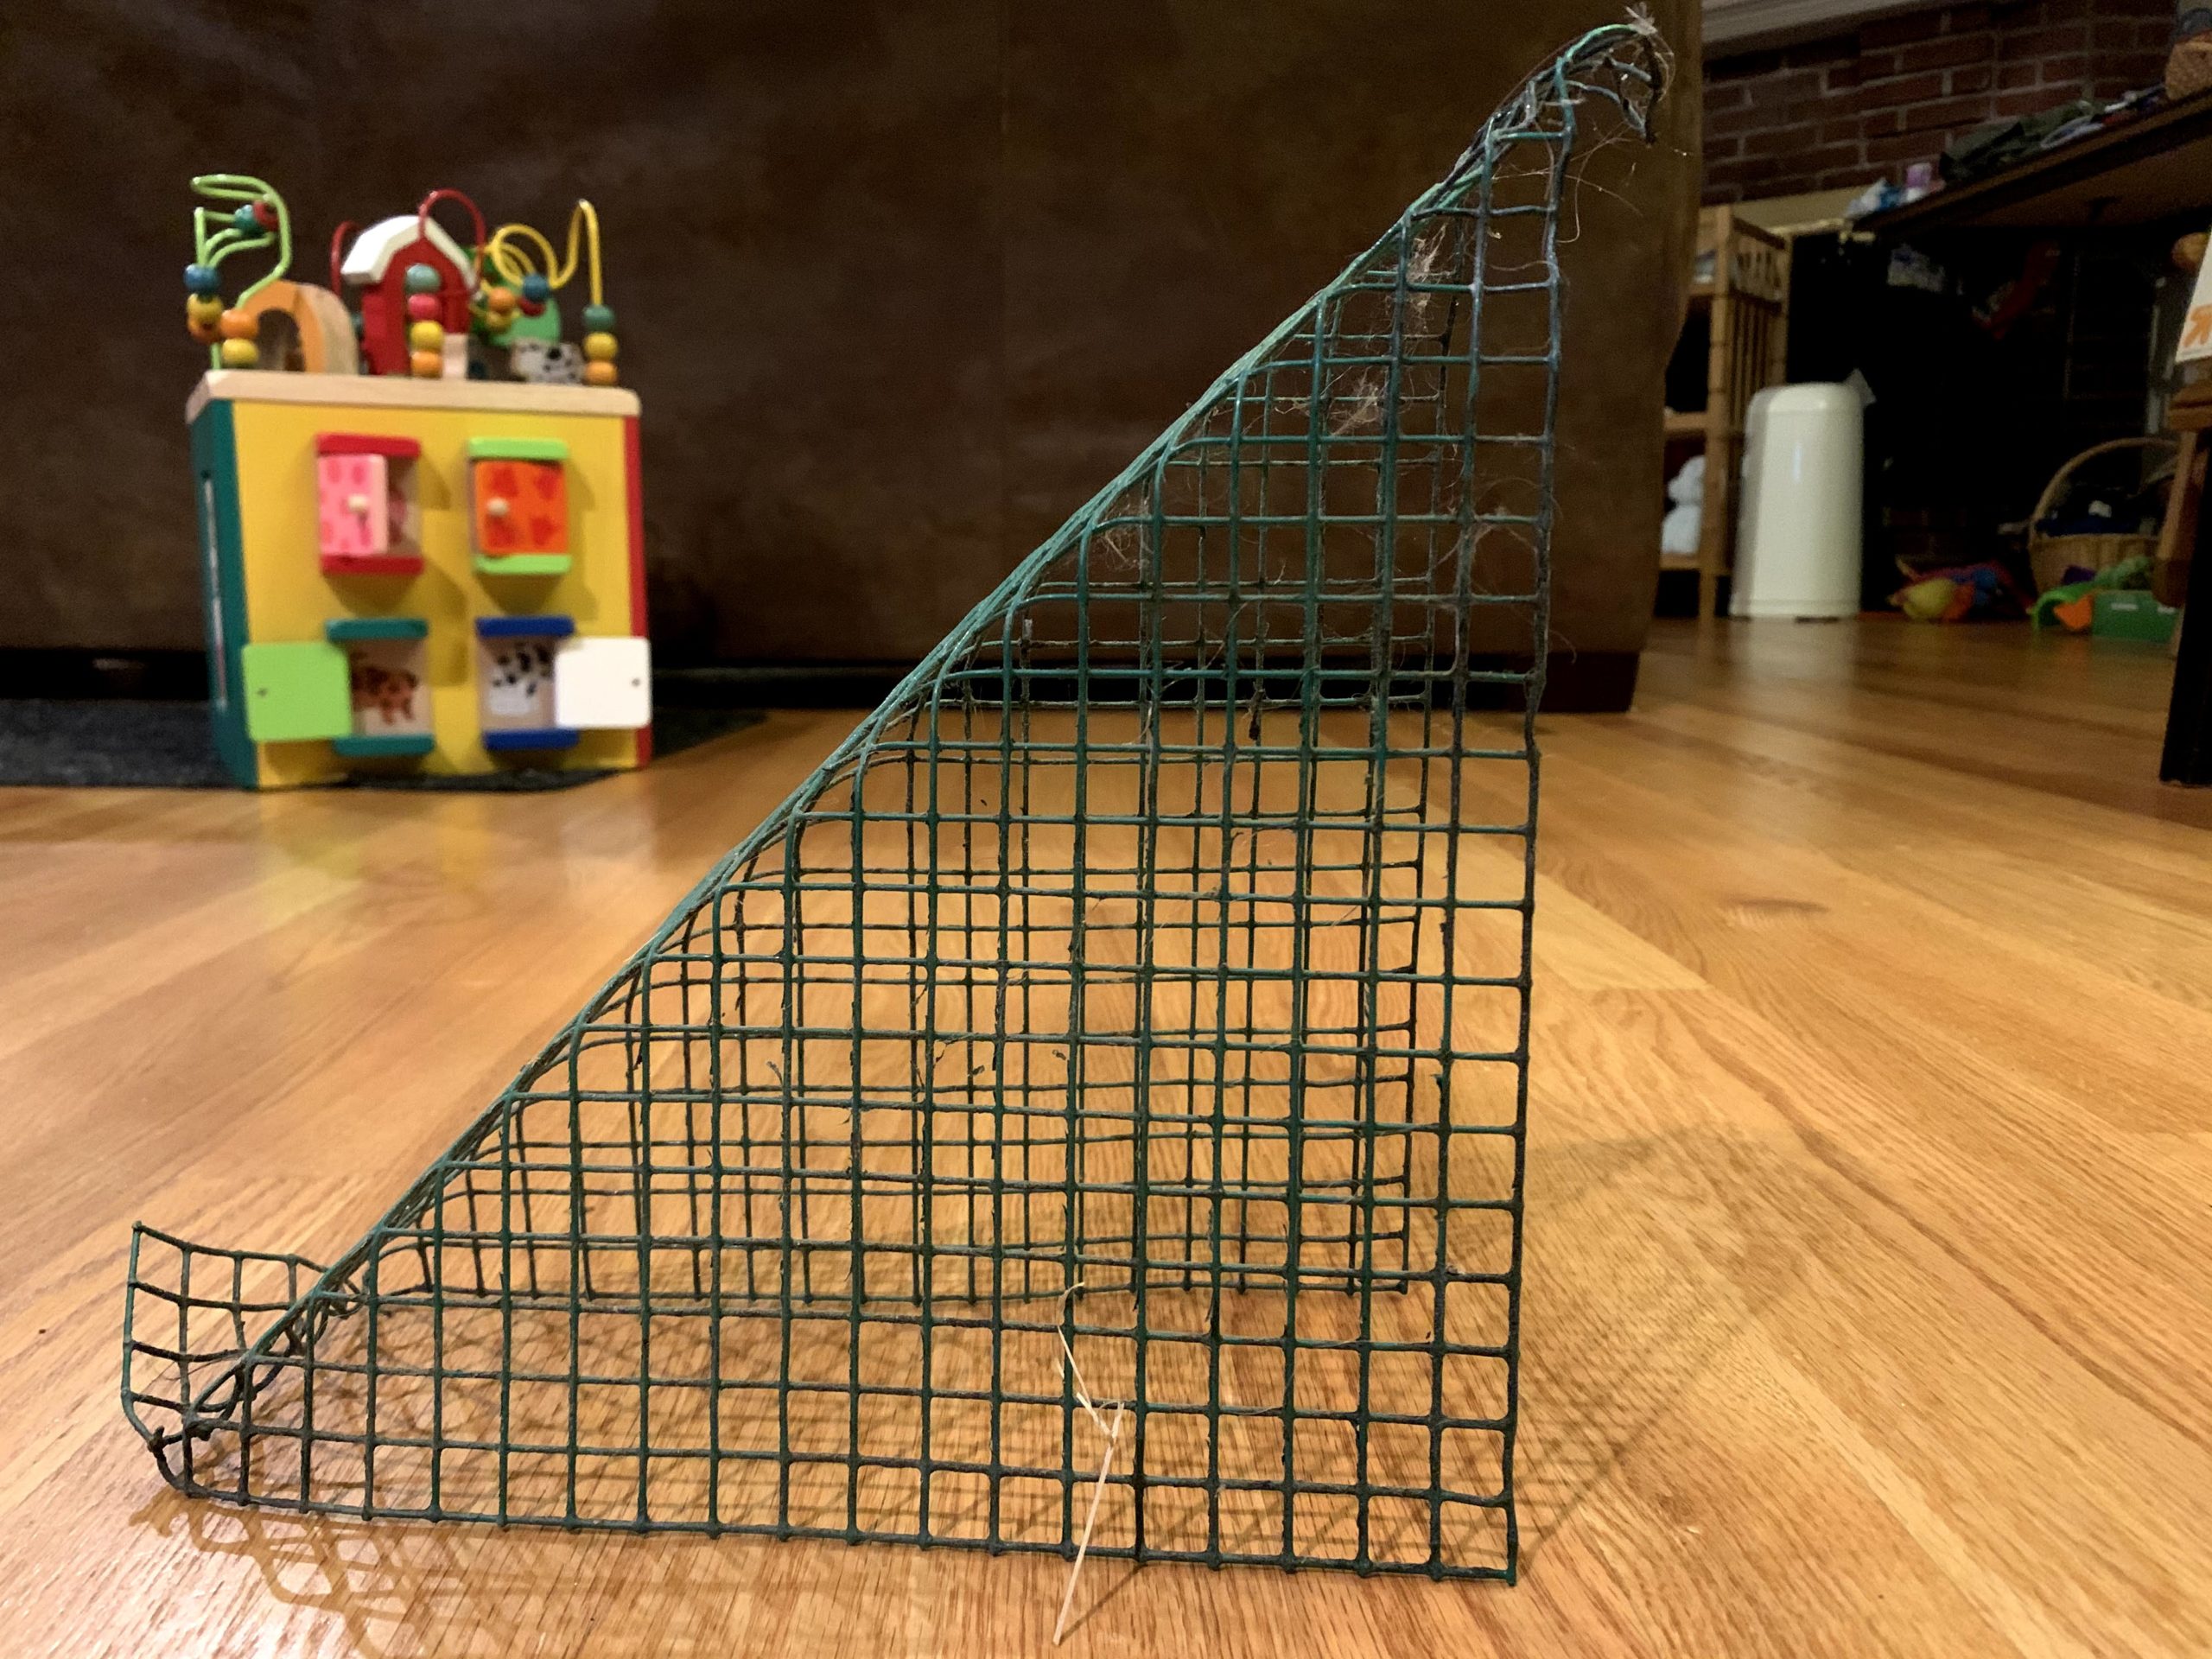
It is important that the bottom triangle push against the front of the bucket because, to be the most successful, the large sides of the ramp should contact the back of the bucket all the way down. In the above photo, the long right edge should be in contact with the back of the bucket when installed. This is to help any animals that falls in to find the ramp if it swims along the sides of the bucket – it will bump into the side wall of the ramp and make its way along the side to the ramp face and can then climb out.
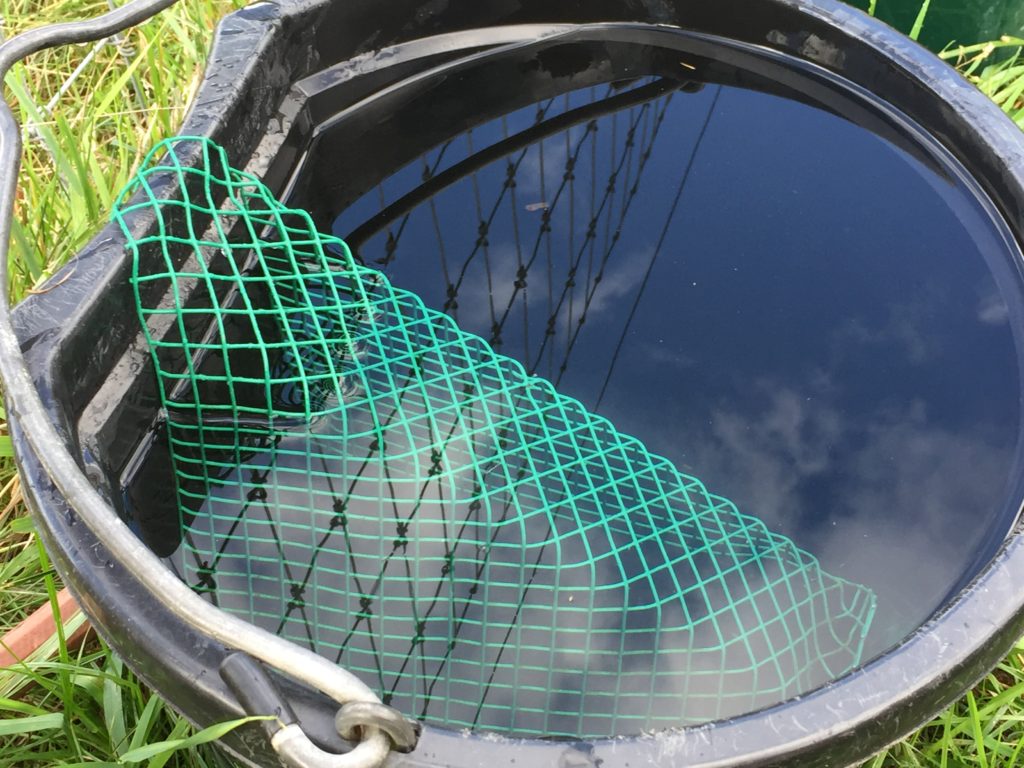
In my experience, most of my farm animals mostly ignored the ramps in their water buckets and didn’t try to remove or destroy them unless the water was very low and they needed to push the ramp to get to the water to drink.
Although I haven’t witnessed an animal actually using the ramps to escape, when the wildlife escape ramps are installed, we haven’t found any dead birds, mice or other animals in the water buckets.
