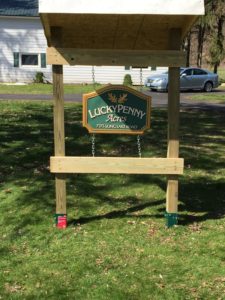
A few months ago, we purchased a Lucky Penny Acres sign. Last week, with the help of some visiting family, we were able to build a sign post and mount the sign in our front yard.
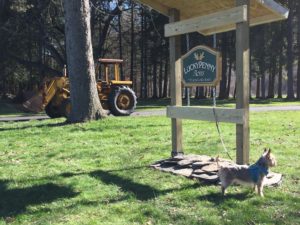
Here is a picture of the almost completed project with the sign mounted. We still need to paint the bare wood at some point and add a couple of lights, but it is otherwise complete.
Now visitors can find us that much easier!
Click through to see how it was made.
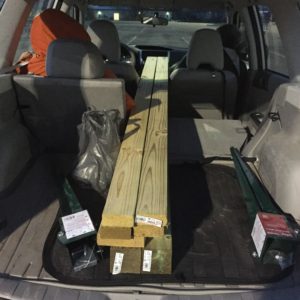
First, we had to design the sign post and figure out the approximate dimensions to know what supplies we needed. The design evolved a little over a few days as we located different items already on hand. We ended up buying several 4x4s, a few 2x4s and several quick post spikes.
We were able to fit 8 foot long boards into our Subaru Forester without needing to have the back door hang open.
Who says you need a pick up truck for farm work?
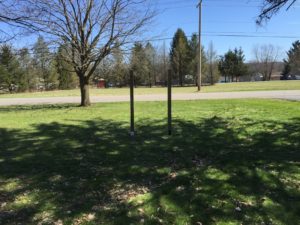
Once we selected the location for the sign, we got right to work. Using the quick mount post spikes, you don’t need to dig a post hole or spend any time mixing concrete. The post spikes are simply driven about 30 inches into the ground with a sledgehammer or similar implement (we used the back side a maul because we don’t have a sledgehammer). The posts are then attached to the spikes with several large screws.
Here is a pictured of the posts attached to the ground spikes.
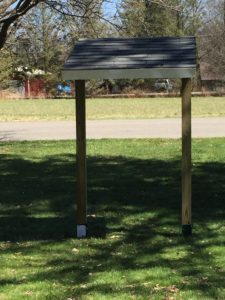
After the posts, we built the roof separately. We happened to have some spare shingles and tar paper in the barn so we were able to use those for the roof. Once the roof was complete, we mounted the roof on the top of the posts at an angle.
Here is a picture of the posts with the roof attached.
Once the roof was attached, we attached 2 cross braces and mounted the sign using eyelets and chains. We kept the chains very tight so the sign won’t swing around in the wind.
Finally, to complete the look (and reduce the need for trimming around the sign), we landscaped around the bottom of the sign with a tractor bucket load of slate from our creek up near the waterfall.
Here is the completed sign with the slate landscaping with the tractor in the background.
As mentioned earlier, we still need to paint the sign posts and other bare wood. We also want to add a couple of small solar lights to help illuminate the sign at night.

